 |
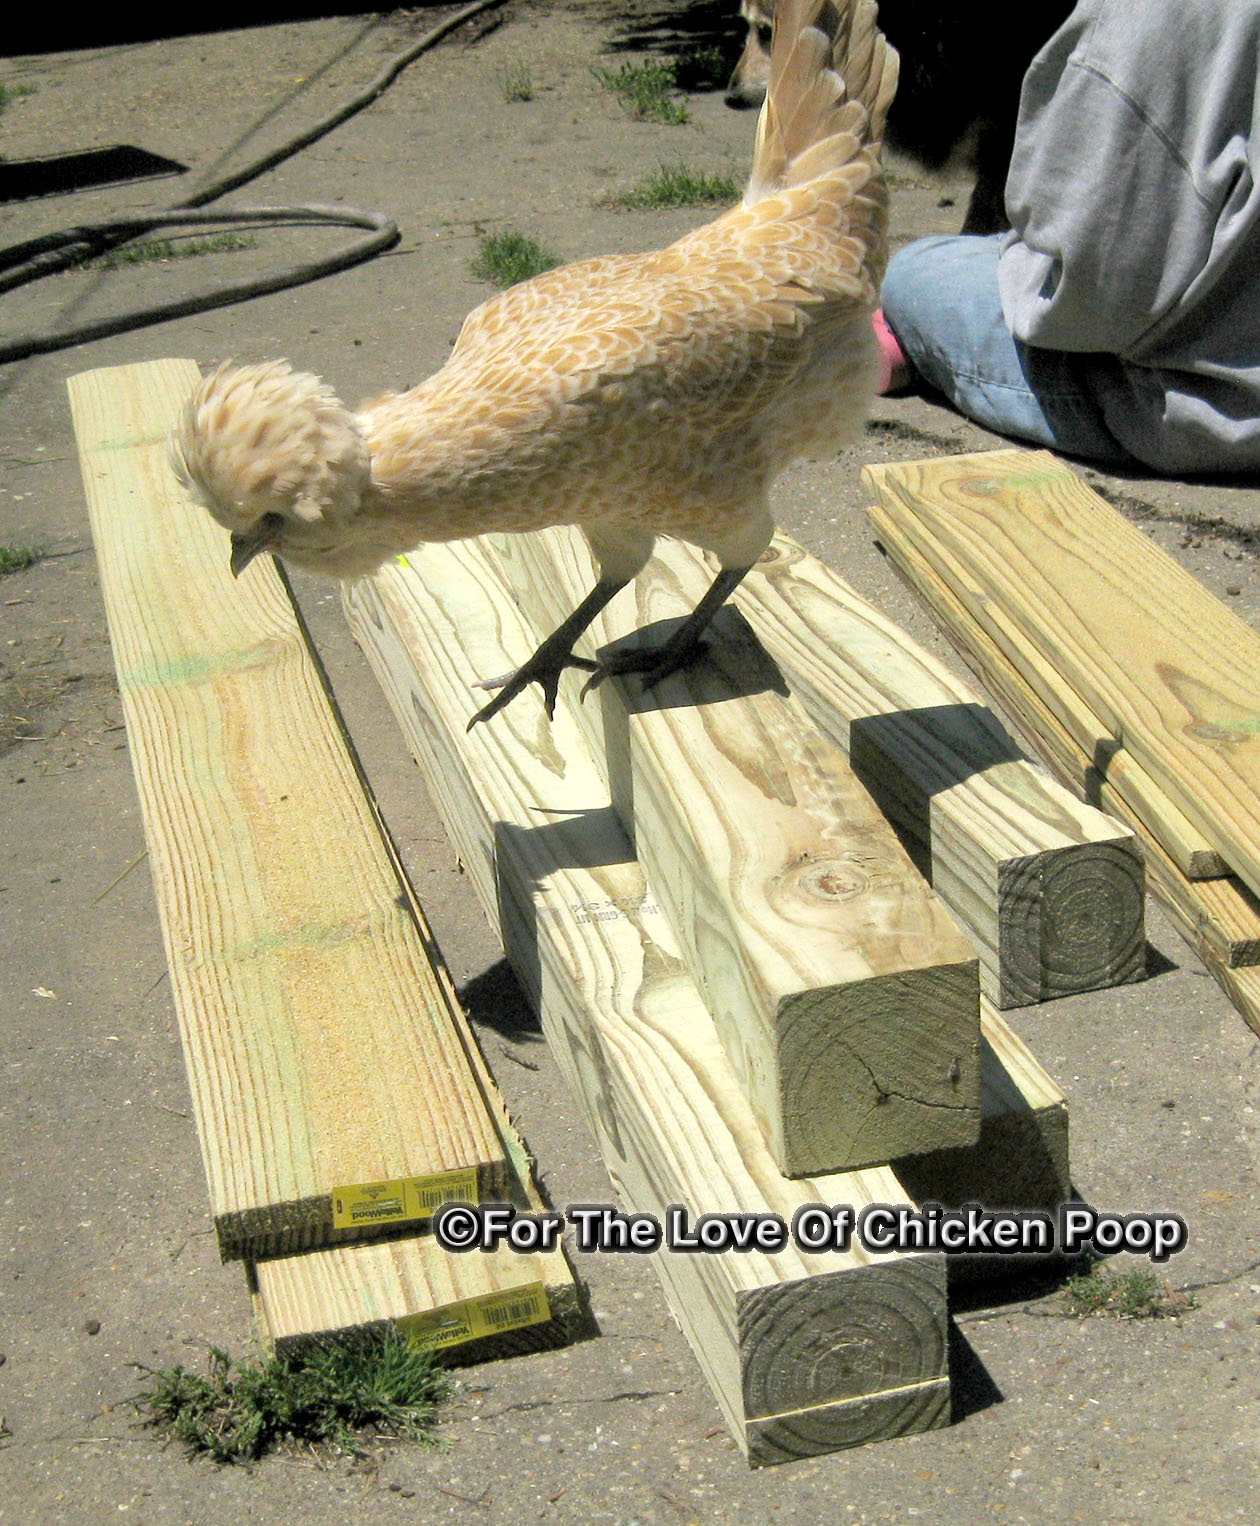
| Carmen inspecting the new lumber. |
 |
| REMEMBER - ALWAYS USE SAFETY PRECAUTIONS WHEN WORKING WITH POWER TOOLS! |
The Work - I cut the fence posts in half giving me four four-foot lengths. Later I realized this was way too long and cut a foot off of each post. I think 32" length would be OK allowing three to be cut out of one eight foot post. I put them in the ground approximately one foot deep.

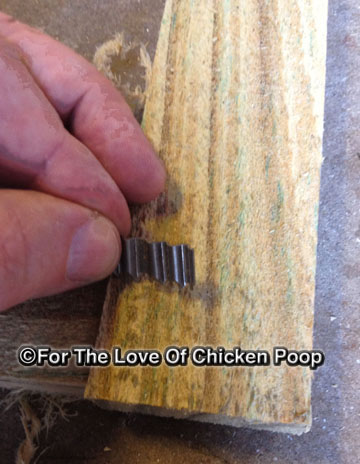
To create the slots I ripped each fence board 3 times to get four pieces approximately 1 7/16" wide. Cut the strips the length of the pole minus one foot. The fence boards are approximately 5/8" thick so I use a 3/4" board as a spacer to place my strips on. This allows tolerance for any warped boards. I pre-drilled holes for nails to prevent the wood from splitting.

I used galvanized common nails to attach the strips.

For the panel frames I ripped the boards twice to get three strips approximately 1 5/8" wide. Lengths are the same as my side panels. The vertical strips are cut at 23".

I nailed the panel frames together with galvanized fasteners, two on one side of the joint and one on the other side. These frames are later covered with chicken wire from two foot wide rolls. They are attached with staples.

Placement of the bed - I use a post hole digger to dig the holes for the post. I used my side boards to rough in the spacing. The holes are dug one foot deep. I placed all four poles in to check the position.
 |
| NOT an upside down table! |
At this time I released my posts were too tall...Liz said it looked like an upside down table!- Back to the shop to cut a foot off of each corner post!
 |
| Plenty of help on hand. |
 |
| Almost there. |

*Layers of newspaper make great ground cover, are free and last up to 18 months before disintegrating. Great for use in small flower/vegetable garden areas to keep weeds out.


Fill with dirt and plant! Then just slide in your siding to restrict the chickens (and dogs in our case)! Just slide out when you need to work in the bed.

The girls could probably fly over, if they wanted in bad enough, but so far they've had no interest. Maybe the main reason is that they are now too fat from worms to fly that high.
More detailed plans to come.
Happy gardening!
Harry~
Tidak ada komentar:
Posting Komentar